Installation Guide
Complete installation instructions for CUGA
Installation Guide
Get CUGA up and running on your system in just a few minutes. This comprehensive guide will walk you through installing CUGA, from quick setup to detailed configuration options. CUGA is an enterprise agent you can trust for building reliable agents for real-world use.
Prerequisites
System Requirements
CUGA requires Python 3.12 or higher and works on Windows, macOS, and Linux systems.
- Python: 3.12 or higher
- RAM: 8GB minimum, 16GB recommended
- Storage: 2GB free space (5GB for development)
- Network: Internet connection for API access
- OS: Ubuntu 20.04+, macOS 12+, or Windows 10+
Required Tools
Before you begin, ensure you have the following:
- UV Package Manager - Modern Python dependency management (see installation guide below)
- Git - For cloning the repository
- API Keys - OpenAI API key or compatible LLM provider
Additional requirements vary by installation method. See the specific installation section below for details.
🚀 Quick Start
Get started with the essential setup steps to have CUGA running quickly using the standard installation method.
Clone the CUGA repository to your local machine:
git clone https://github.com/cuga-project/cuga-agent.git
cd cuga-agent
Create a virtual environment and install dependencies:
uv venv --python=3.12
source .venv/bin/activate  # On Windows: .venv\Scripts\activate
uv sync
Make sure to activate the virtual environment before running any CUGA commands.
Copy the example environment file and add your API key:
cp .env.example .envEdit the .env file and add your OpenAI API key:
OPENAI_API_KEY=your_api_key_hereFor IBM team members, you can use the ETE LiteLLM API key from the ETE LiteLLM portal.
First Run
Start CUGA in demo mode to explore its capabilities:
cuga start demoTry this example query to test the system:
get my top account by revenue from digital salesCongratulations! You've successfully installed CUGA. Continue reading for detailed configuration options and advanced setup.
Visualize trajectories
Once you've run CUGA a few times, you can visualize the trajectories.
Start the visualization server:
cuga vizNavigate to Cuga Visualizer at http://localhost:8988. You can see a list of trajectories, and open any trajectory by clicking Open:
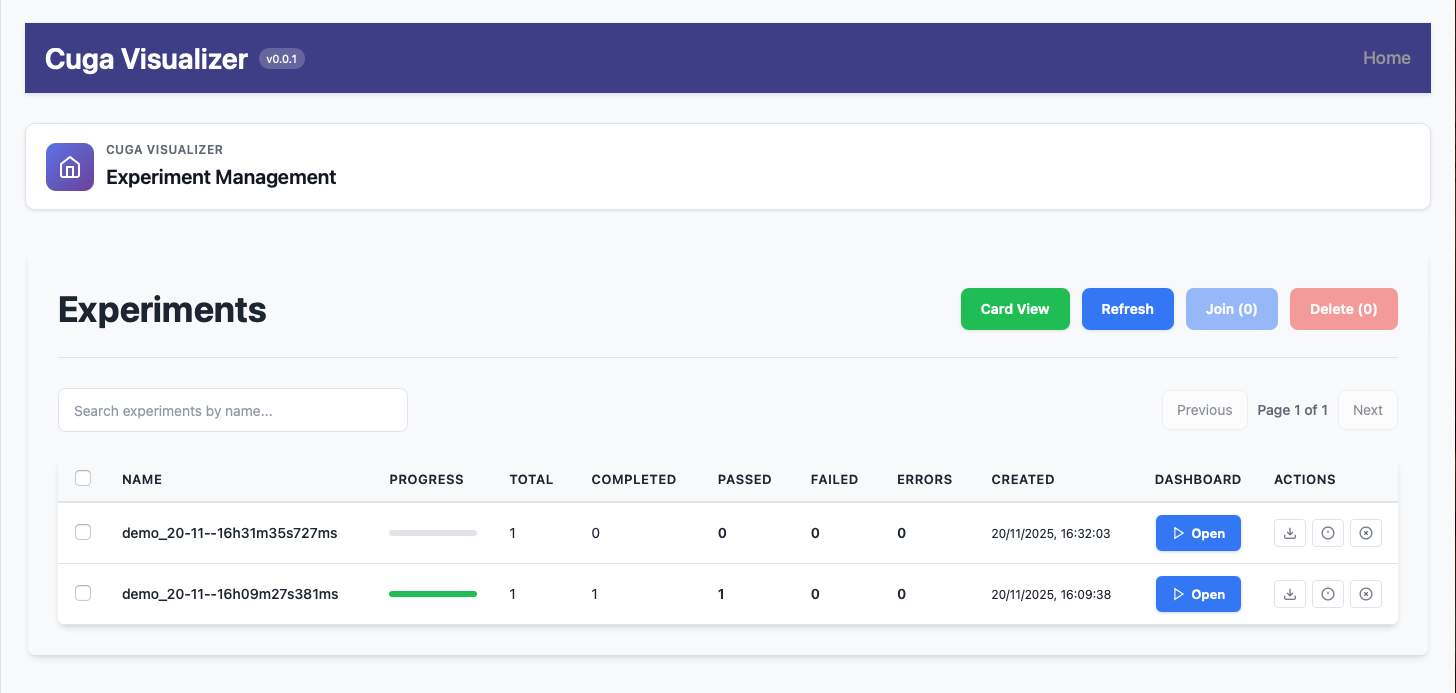
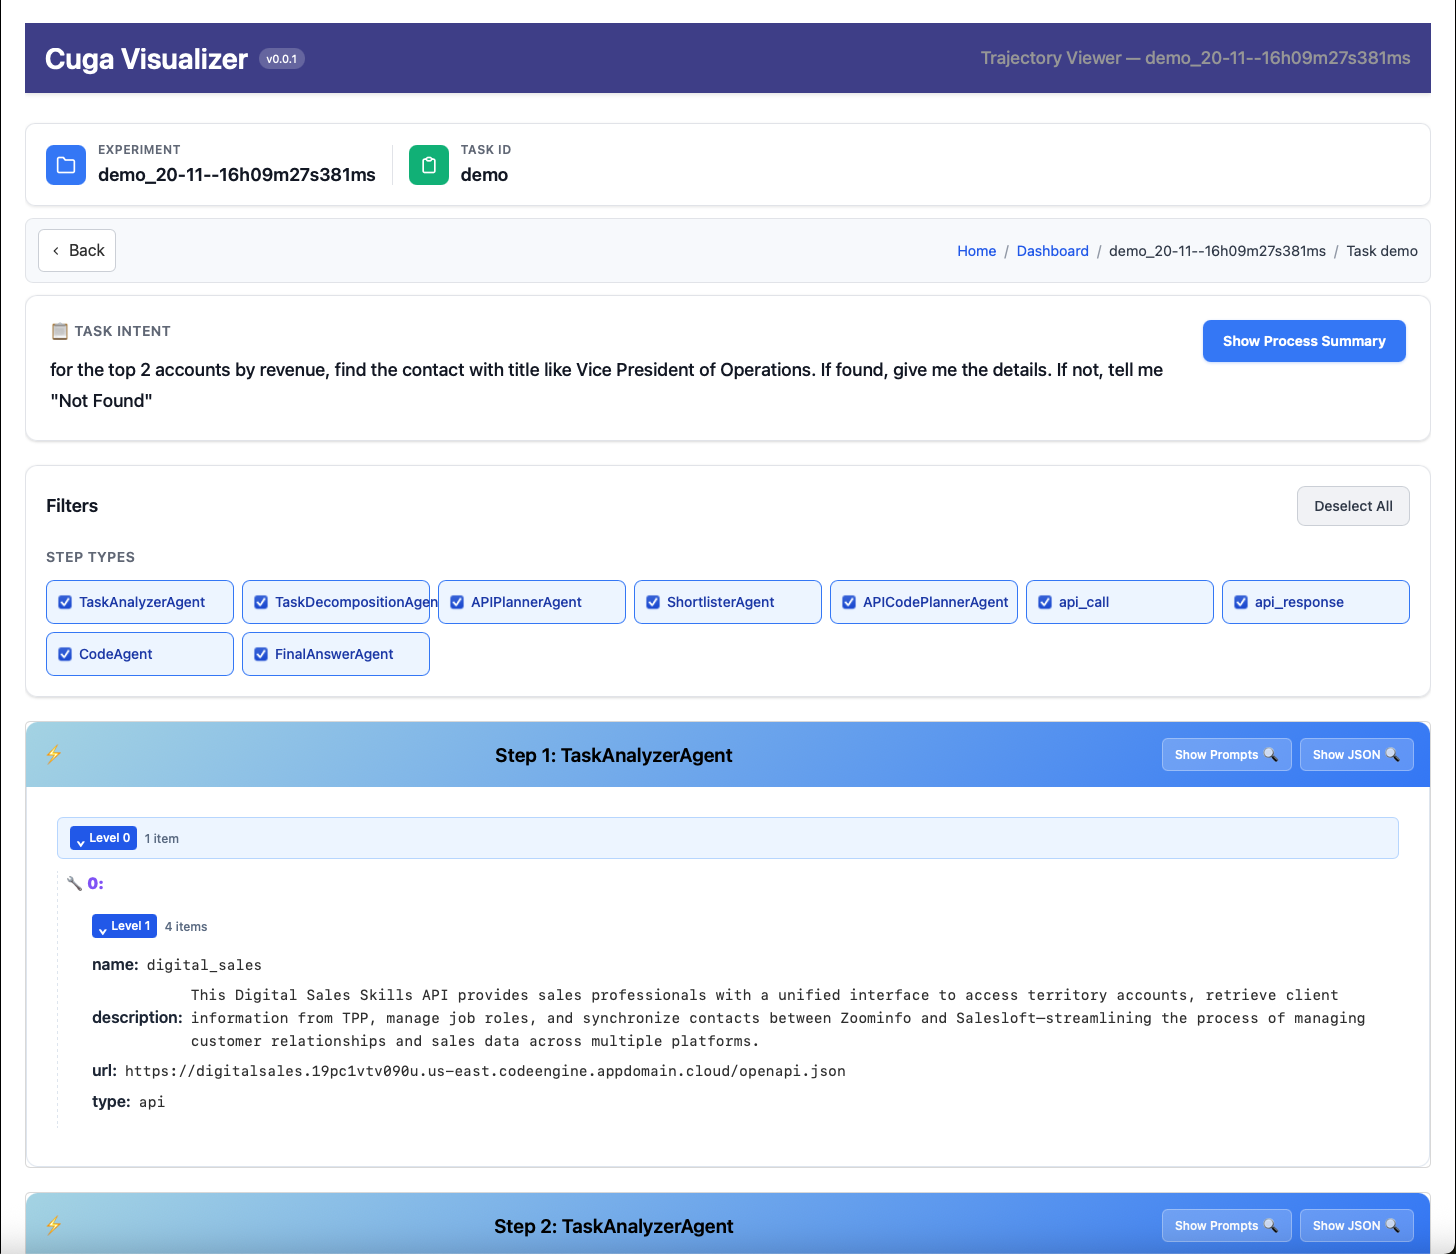
Here you can see an overview of the trajectory:

You can view the details by clicking on the link under TASK_ID on the left:
Alternative Installation Methods
Choose the installation method that best fits your use case:
Standard Installation
Recommended for most users. Install CUGA directly on your system.
Requirements:
- Python 3.12+
- UV package manager
- Git
- 2GB free storage
- OpenAI API key or compatible provider
git clone https://github.com/cuga-project/cuga-agent.git
cd cuga-agent
uv venv --python=3.12
source .venv/bin/activate # Windows: .venv\Scripts\activateuv synccp .env.example .env
# Edit .env with your API keysDevelopment Setup
For contributors and developers working on CUGA.
Requirements:
- Python 3.12+
- UV package manager
- Git
- 5GB free storage (for dev dependencies)
- OpenAI API key or compatible provider
- Pre-commit (installed automatically)
- IDE or text editor (we use VSCode and provide launch.json for debugging)
git clone --recursive https://github.com/cuga-project/cuga-agent.git
cd cuga-agent
uv venv --python=3.12
source .venv/bin/activate # Windows: .venv\Scripts\activateuv sync --devcp .env.example .env
# Edit .env with your API keyspre-commit install
# This is to statically check the code before committing to git.First Run
Start CUGA for the first time:
# Start in demo mode
cuga start demo
Troubleshooting
Common Issues
Most installation issues are related to Python version, dependencies, or API key configuration.
| Issue | Solution |
|---|---|
| Python version error | Ensure Python 3.12+ is installed and in PATH |
| Module not found | Run uv sync to install dependencies |
| API key errors | Verify your .env file has correct API keys |
| Port conflicts | Check if ports 8000/8005 are available |
Getting Help
- GitHub Issues: CUGA Issues
- Documentation: Check our Development section
Next Steps
Now that CUGA is installed, explore these resources:
- Usage Modes: Learn about different operation modes
- Configuration: Customize CUGA for your needs
- API Integration: Integrate CUGA into your applications
Installation complete! CUGA is ready to enhance your development workflow with AI-powered code understanding and generation.